Windows
Installation on Windows
To install KiKit on Windows, you have to open "KiCAD Command Prompt". You can find it in the start menu:
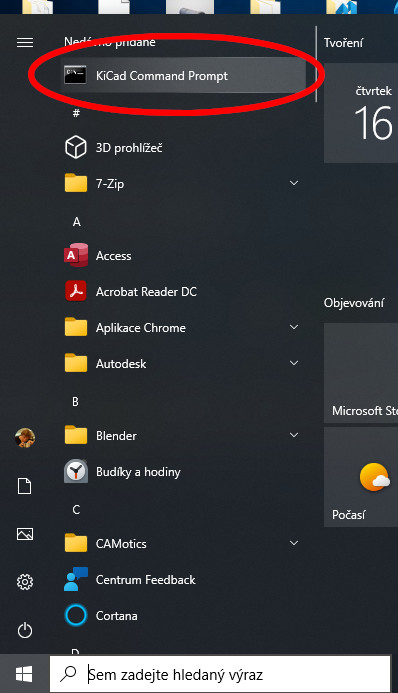
Once you have it open like this:
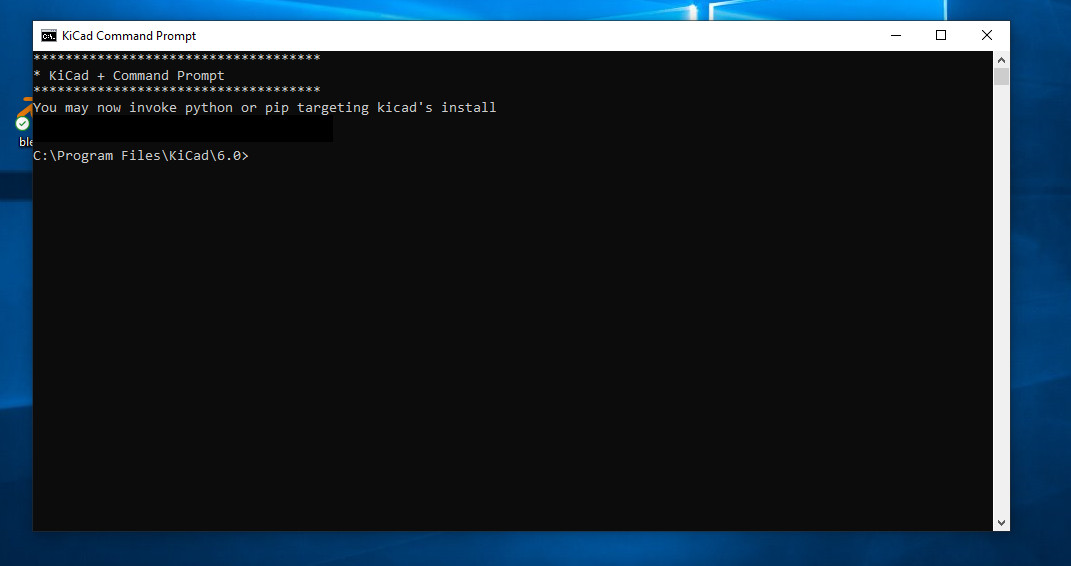
you can put command in there and confirm them by pressing enter. This is also the prompt from which you will invoke all KiKit's CLI commands. They, unfortunately, does not work in an ordinary Command prompt due to the way KiCAD is packaged on Windows.
Then you have to enter the following command to install it:
Now you can test that it works:
You should get something like this:
Usage: kikit [OPTIONS] COMMAND [ARGS]...

Options:
  --version  Show the version and exit.
  --help     Show this message and exit.

Commands:
  drc       Validate design rules of the board
  export    Export KiCAD boards
  fab       Export complete manufacturing data for given fabrication houses
  modify    Modify board items
  panelize  Panelize boards
  present   Prepare board presentation
  separate  Separate a single board out of a multi-board design.
  stencil   Create solder paste stencils
If you get an error message like the following:
> kikit --help
'kikit' is not recognized as an internal or external command
operable program or batch file.
... then you may need to close the terminal and re-open a new "KiCAD Command Prompt"
so that it adds the plugin directory to the %PATH% variable. Then run kikit --help
again, and you should see the help message shown above.
Now you are done with the basic installation. Don't forget to get the GUI frontend and libraries via PCM.